Ultimate Tower Blitz: Comprehensive Tower Tier Rankings
As you begin playing Tower Blitz, you start with a single tower type, but as you progress, you unlock a variety of towers, each with unique strengths and weaknesses. To optimize your strategy based on your play style, here’s a detailed tier list of all towers in Tower Blitz.
Table of contents
All Towers In Tower Blitz Ranked S-Tier Towers A-Tier Towers B-Tier Towers C-Tier Towers D-Tier TowersAll Towers In Tower Blitz Ranked
We’ve ranked all in-game towers from S-Tier to D-Tier based on their abilities, upgrade paths, cost, and overall effectiveness. S-Tier towers dominate the game, nearly guaranteeing victory on any map with proper use. A-Tier towers perform well but have minor flaws that prevent them from topping the list. B-Tier towers are average, offering decent but unremarkable performance. C-Tier towers are generally weak, with limited utility for skilled players. D-Tier towers are the least effective, offering little to no strategic value. Read on for our detailed ranking explanations.
S-Tier Towers
| Tower | Cost | Explanation | Pros and Cons |
|---|---|---|---|
 | Unlock: 2500 Tokens (Level 25) Placement: 750 Cash | Exceptionally powerful despite being a support tower. Essential for Expert mode, it significantly enhances other towers’ performance when paired strategically. Note that Bugler cannot boost Recon Bases. | + Massively boosts tower performance + Critical for Expert mode – Purely support-focused |
 | Unlock: 5500 Tokens Placement: 3800 Cash | Ideal for players seeking a high-powered Sniper alternative. Boasting unmatched range and damage, it excels when placed near the map’s end, decimating approaching enemies. | + Immense power and range + Supports both damage and utility roles – High cost |
 | Unlock: Complete the contract Placement: 1800 Cash | Among the game’s strongest towers, Lightbeamer’s death ray devastates enemies when positioned along a straight path. Both upgrade paths are highly effective, making it a game-changer with optimal placement. | + Extremely powerful + Excellent for crowd control – Less effective early-game – Costly |
 | Unlock: 8000 Tokens (Level 45) Placement: 1000 Cash | Offers incredible value by spawning operatives that grow stronger with upgrades. Both paths are highly effective, making it a key asset for winning on any difficulty except Normal, despite its steep upgrade costs. | + Spawns units continuously + Both paths are highly effective + Ideal for Expert mode – Expensive upgrades |
 | Unlock: 1500 Tokens Placement: 500 Cash | The best early-game tower, with utility extending into mid and late-game, particularly in Expert mode. Its slower speed can be mitigated by choosing the bottom path. | + Top early-game choice + Useful throughout the game + High piercing damage – Slightly slow |
 | Unlock: Complete the contract Placement: 700 Cash | A versatile tower that excels as either a support or damage unit, depending on the chosen path. It remains effective throughout the game, though limited to four placements. | + Highly versatile + Effective from start to finish – Limited to four units |
A-Tier Towers
| Tower | Cost | Explanation | Pros and Cons |
|---|---|---|---|
 | Unlock: 1000 Tokens Placement: 650 Cash | A solid tower when used correctly. The top path focuses on generating income, making it valuable, especially in multiplayer. The bottom path can lead to losses if mismanaged. | + Essential for multiplayer + Profitable – Weak bottom path – Slow initial income |
 | Unlock: 1300 Tokens Placement: 600 Cash | Excellent for early-game crowd control with a wide range. While its piercing damage is modest, it helps beginners transition smoothly into mid-game when placed strategically. | + Strong crowd control and damage + Beginner-friendly – Ineffective in Expert mode – Low piercing damage |
 | Unlock: 3000 Tokens Placement: 2500 Cash | A reliable mid to late-game tower. The bottom path maximizes its strength, delivering 140 DPS and full defense pierce at max level, though it starts weak and lacks flying detection. | + Highly powerful + Versatile – Slow to reach full potential – No flying detection |
B-Tier Towers
| Tower | Cost | Explanation | Pros and Cons |
|---|---|---|---|
 | Unlock: Complete the contract Placement: 800 Cash | Generates income without relying on Market while also dealing damage. Works well with Recon Base, but is outclassed by stronger damage towers and more efficient income sources. | + Combines income and damage + Decent early-game – Easily outclassed |
 | Unlock: 3500 Tokens Placement: 900 Cash | Effective early-game tower for crowd control and piercing damage, but becomes obsolete as stronger options emerge. Lacks flying detection, limiting its utility. | + Strong crowd control and piercing – Useless after early-game – No flying detection |
 | Unlock: Complete the contract Placement: 1200 Cash | Similar to Vulcan but less versatile, with a strong bottom path. Its long cooldown limits its effectiveness, requiring careful placement and timing. | + Solid bottom path – Long cooldown – Expensive |
 | Unlock: Complete the contract Placement: 480 Cash | Useful in mid-game with its Tesla turrets, but ineffective early or late. Despite its strategic potential, its high cost outweighs its limited impact. | + Strong mid-game – Cost-inefficient |
 | Unlock: Free (Level 10) Placement: 400 Cash | A melee tower effective for early-game crowd control and tanks, but its short range and slow speed hinder its overall utility. | + Good for crowd control + Early-game efficiency – Limited range – Slow |
C-Tier Towers
| Tower | Cost | Explanation | Pros and Cons |
|---|---|---|---|
 | Unlock: 200 Tokens Placement: 400 Cash | Suitable for beginners or as a Slinger alternative in early-game. Its long range and crowd control are offset by low damage and limited utility beyond the initial waves. | + Affordable starter tower + Long range – Useless after early-game – Low damage |
 | Unlock: 450 Tokens Placement: 400 Cash | Effective with high-DPS towers against fast enemies, but becomes obsolete once enemies gain freeze immunity. Better tower combinations offer greater value. | + Useful against fast enemies – Obsolete after early-game – Limited enemy compatibility |
 | Unlock: 500 Tokens Placement: 400 Cash | A melee tower with poor speed and range. The top path improves range at the cost of damage, making it viable only in Normal mode. | + Decent top path – Short range – Ineffective in Hard or Expert modes |
D-Tier Towers
| Tower | Cost | Explanation | Pros and Cons |
|---|---|---|---|
 | Unlock: Free Placement: 200 Cash | A starter tower designed for new players. Useful only in the first wave, it should be replaced quickly due to its poor damage and speed. | + Free – Weak damage and speed, even when maxed – Useless after early waves |
 | Unlock: 1000 Tokens (Level 10) Placement: 500 Cash | Disappointing for its cost and level requirement, Trapper struggles against even weak enemies. Other towers offer better performance at a lower cost. | + Decent bottom path – Not cost-efficient – Largely ineffective – Struggles throughout the game |
With our comprehensive tier list, you’re equipped to craft the perfect strategy for your play style in Tower Blitz. For a quick boost, check out our Tower Blitz codes to get a head start.


-
1
Announcing the Bazaar Release: Date and Time Unveiled
Feb 02,2025
-
2
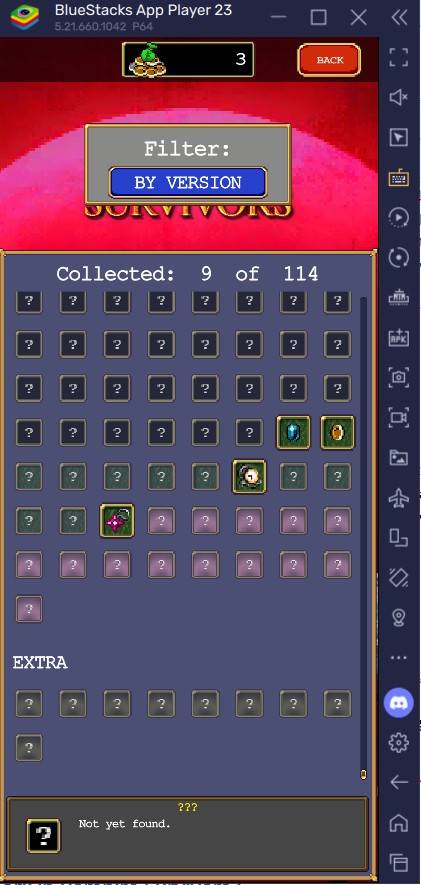
Vampire Survivors – Arcana Card System Guide and Tips
Feb 26,2025
-
3
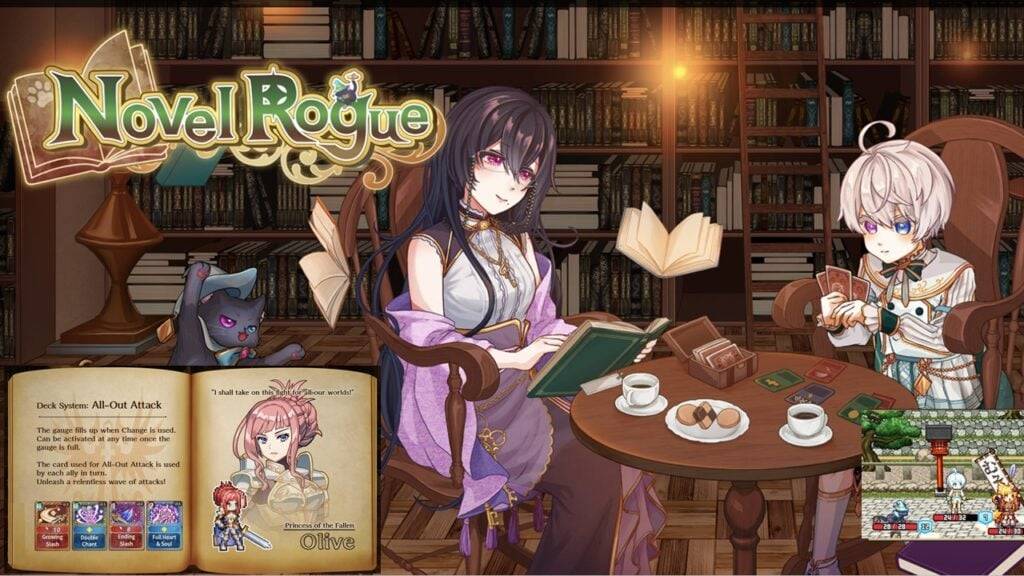
Novel Rogue Decks Android Debut
Feb 25,2025
-
4
Marvel Rivals Update: News and Features
Feb 19,2025
-
5

GTA 6 Release: Fall 2025 Confirmed
Feb 23,2025
-
6
Get Exclusive Roblox DOORS Codes for January 2025
Feb 10,2025
-
7

Marvel Rivals Unveils Season 1 Release Date
Feb 02,2025
-
8

Anime Fate Echoes: Get the Latest Roblox Codes for January 2025
Jan 20,2025
-
9
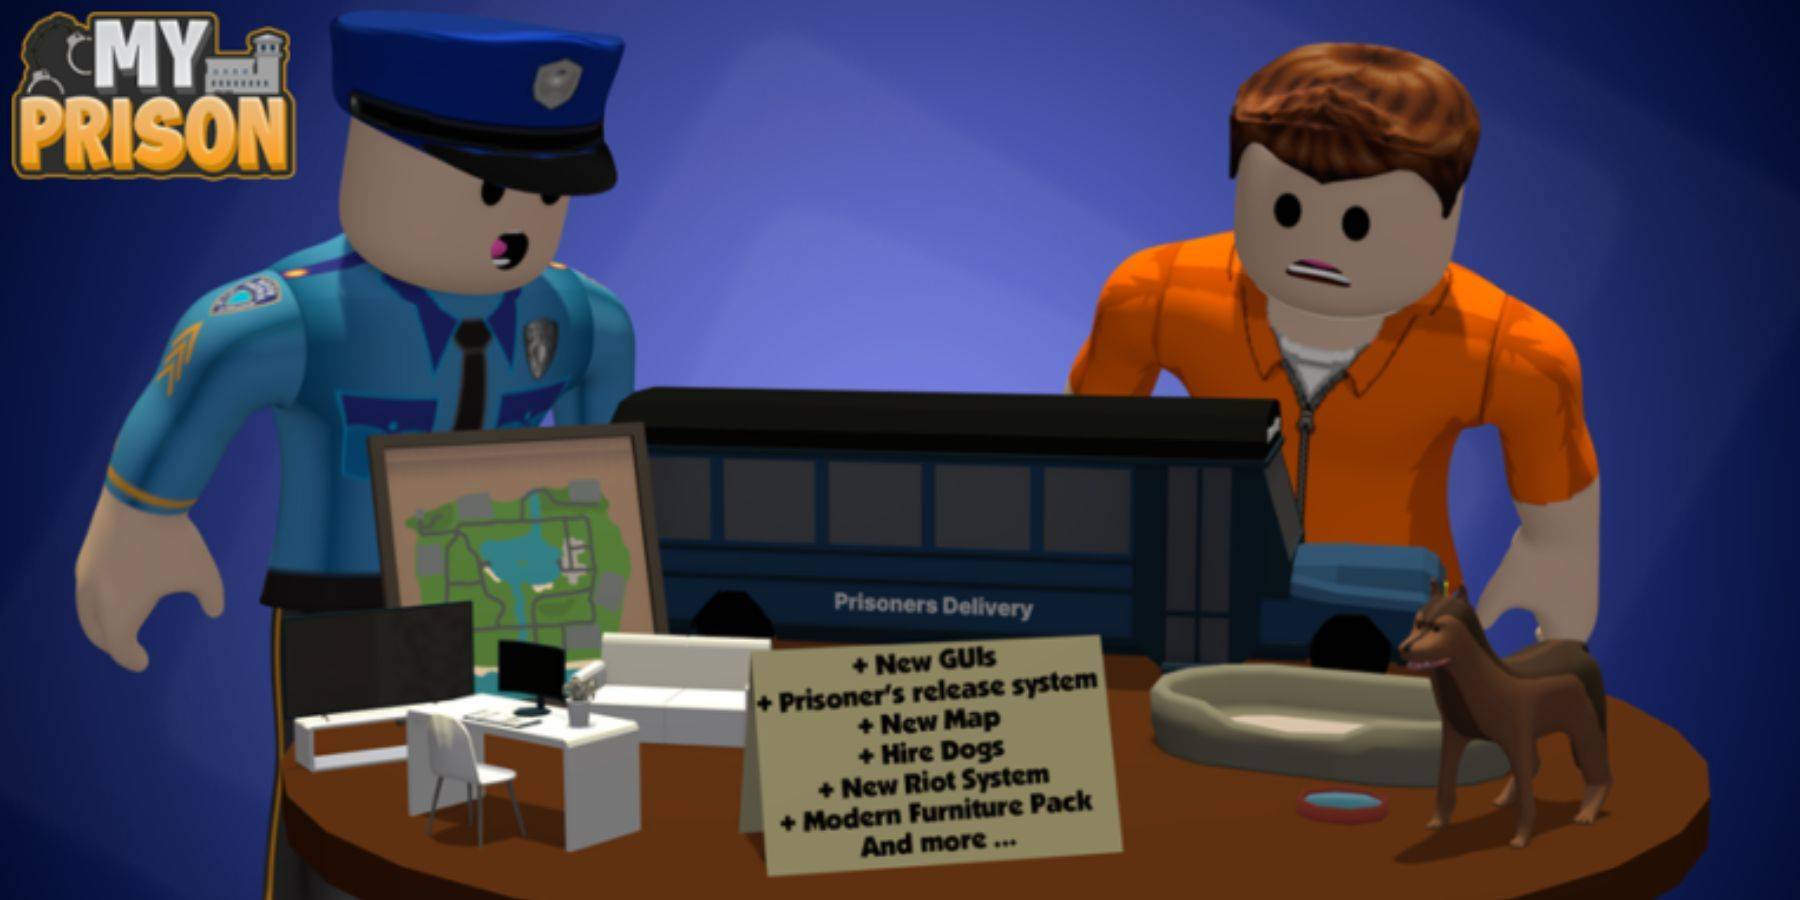
Roblox: Exclusive Prison Codes Revealed (Updated January 2025)
Feb 19,2025
-
10
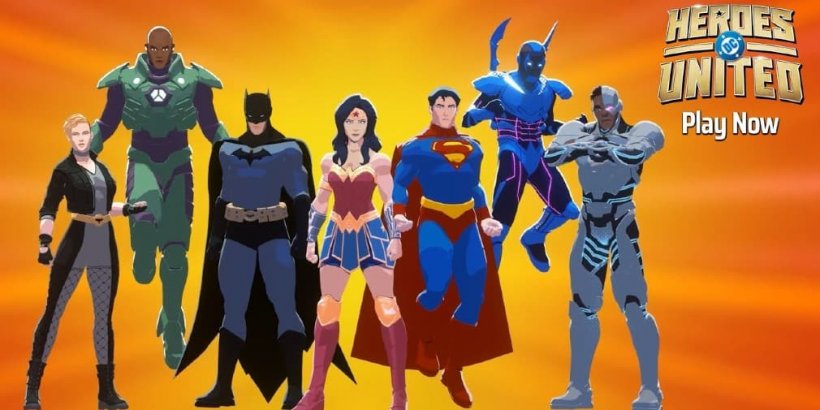
DC Heroes Unite: New Series from Silent Hill: Ascension Creators
Dec 18,2024
-
Download

Street Rooster Fight Kung Fu
Action / 65.4 MB
Update: Feb 14,2025
-
Download

Ben 10 A day with Gwen
Casual / 47.41M
Update: Dec 24,2024
-
Download

A Simple Life with My Unobtrusive Sister
Casual / 392.30M
Update: Dec 10,2024
-
4
Day by Day
-
5
Translate - Voice Translator
-
6
Mega Jackpot
-
7
Midi Commander
-
8
Idle Rush : Zombie Tsunami
-
9
The Lewd Knight
-
10
VPN Qatar - Get Qatar IP