7 Days To Die: Mastering Infested Clear Missions - Benefits and Strategies
Quick Links
In the survival game 7 Days To Die, players encounter various mission types, ranging from simple buried treasure quests to the challenging infested missions. As you advance through trader tiers, you'll unlock increasingly difficult missions, with infested missions standing out as some of the toughest. These missions involve clearing buildings packed with undead enemies, offering a thrilling challenge and rewarding players with substantial XP, valuable loot, and sometimes rare items. This guide will walk you through everything you need to know about tackling infested missions in 7 Days To Die.
How To Start An Infested Clear Mission
 To initiate an infested clear mission, head to any of the five traders on the standard map: Rekt, Jen, Bob, Hugh, or Joe. The choice of trader isn't crucial; what matters more is the mission's location and tier. Higher tiers mean tougher challenges, and the biome also impacts enemy difficulty—missions in the forest are less likely to have ferals compared to those in the Wasteland.
To unlock infested missions, you must reach tier 2 missions by completing 10 tier 1 missions. Infested clear missions are notably harder than standard clear missions, featuring more zombies, including tougher types like radiated zombies, cops, and ferals. Tier 6 infested clear missions are the game's most challenging, but by that point, you should be well-equipped. The goal in any infested clear mission remains the same: clear all enemies from the designated area.
Completing An Infested Clear Mission
 Upon arriving at the mission's point of interest (POI), activate the mission by interacting with the marker outside the building. Be aware that leaving the area or dying during the mission will result in failure.
Each POI has a designated path, often marked by lighting like torches or lanterns. To avoid dangerous traps, consider taking alternative routes. Carrying building blocks can be a lifesaver if you fall into a trap, allowing you to build your way out or bypass the main path to surprise zombies.
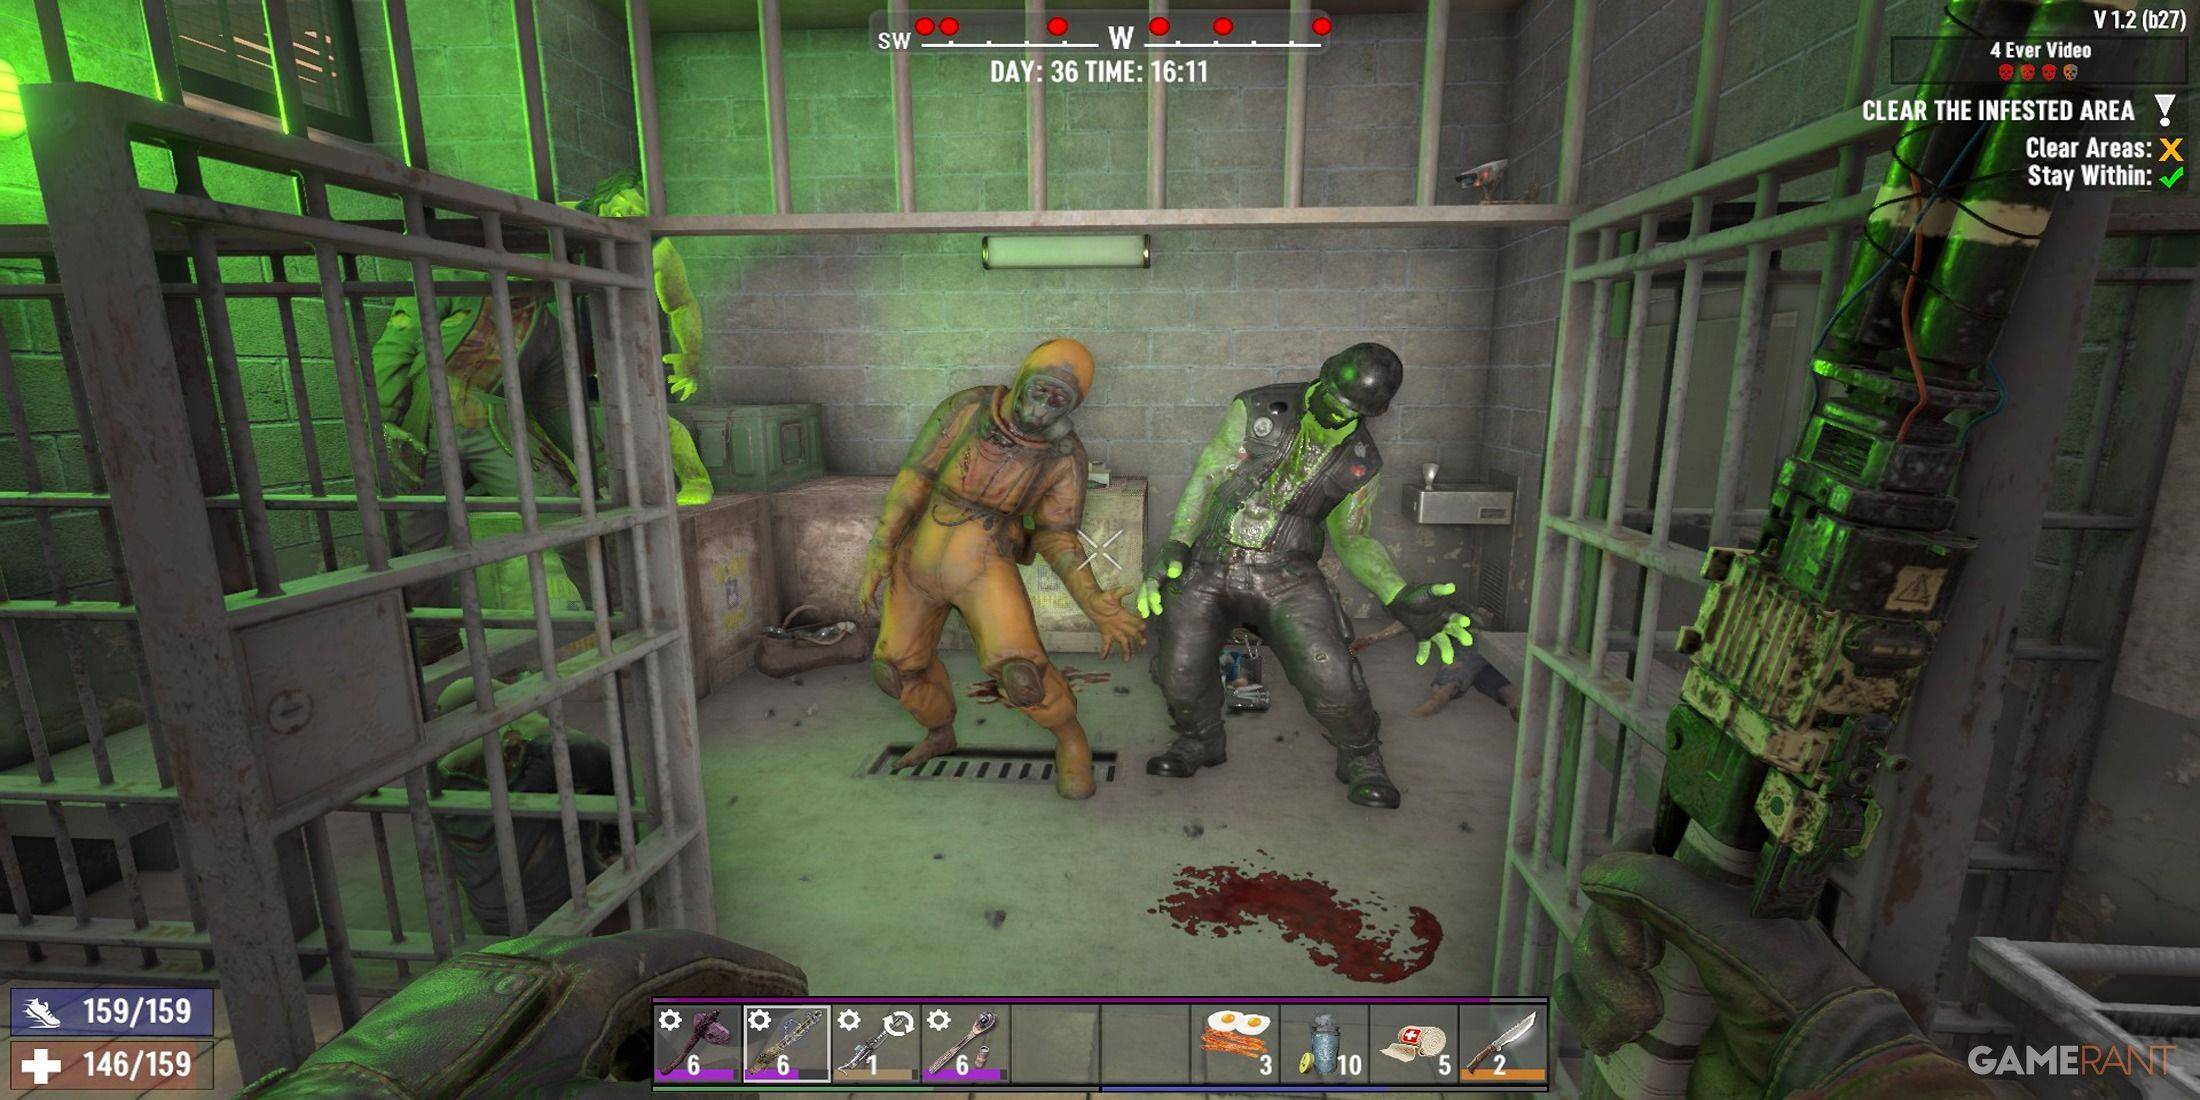
During the mission, zombies appear as red dots on your screen, with larger dots indicating closer proximity. Focus on headshots to take down zombies efficiently, but be cautious of special types:
Zombie Type
Abilities
How To Handle Them
Cops
Spit toxic vomit and explode when injured
Watch for their head tilt before vomiting and seek cover. Maintain distance to avoid their blast.
Spiders
Jump across large distances
Listen for their screech before jumping, then quickly aim for headshots.
Screamers
Scream to summon other zombies
Prioritize eliminating them to prevent zombie swarms.
Demolition Zombies
Have a glowing explosive package taped to their chest
Avoid hitting their chest to prevent the explosive from activating. If it does, run far away.
In the final room, expect a high concentration of zombies guarding top-tier loot containers. Ensure you're fully prepared before entering—check your health, weapon durability, and ammo. Remember your escape route, as a quick exit might be necessary.
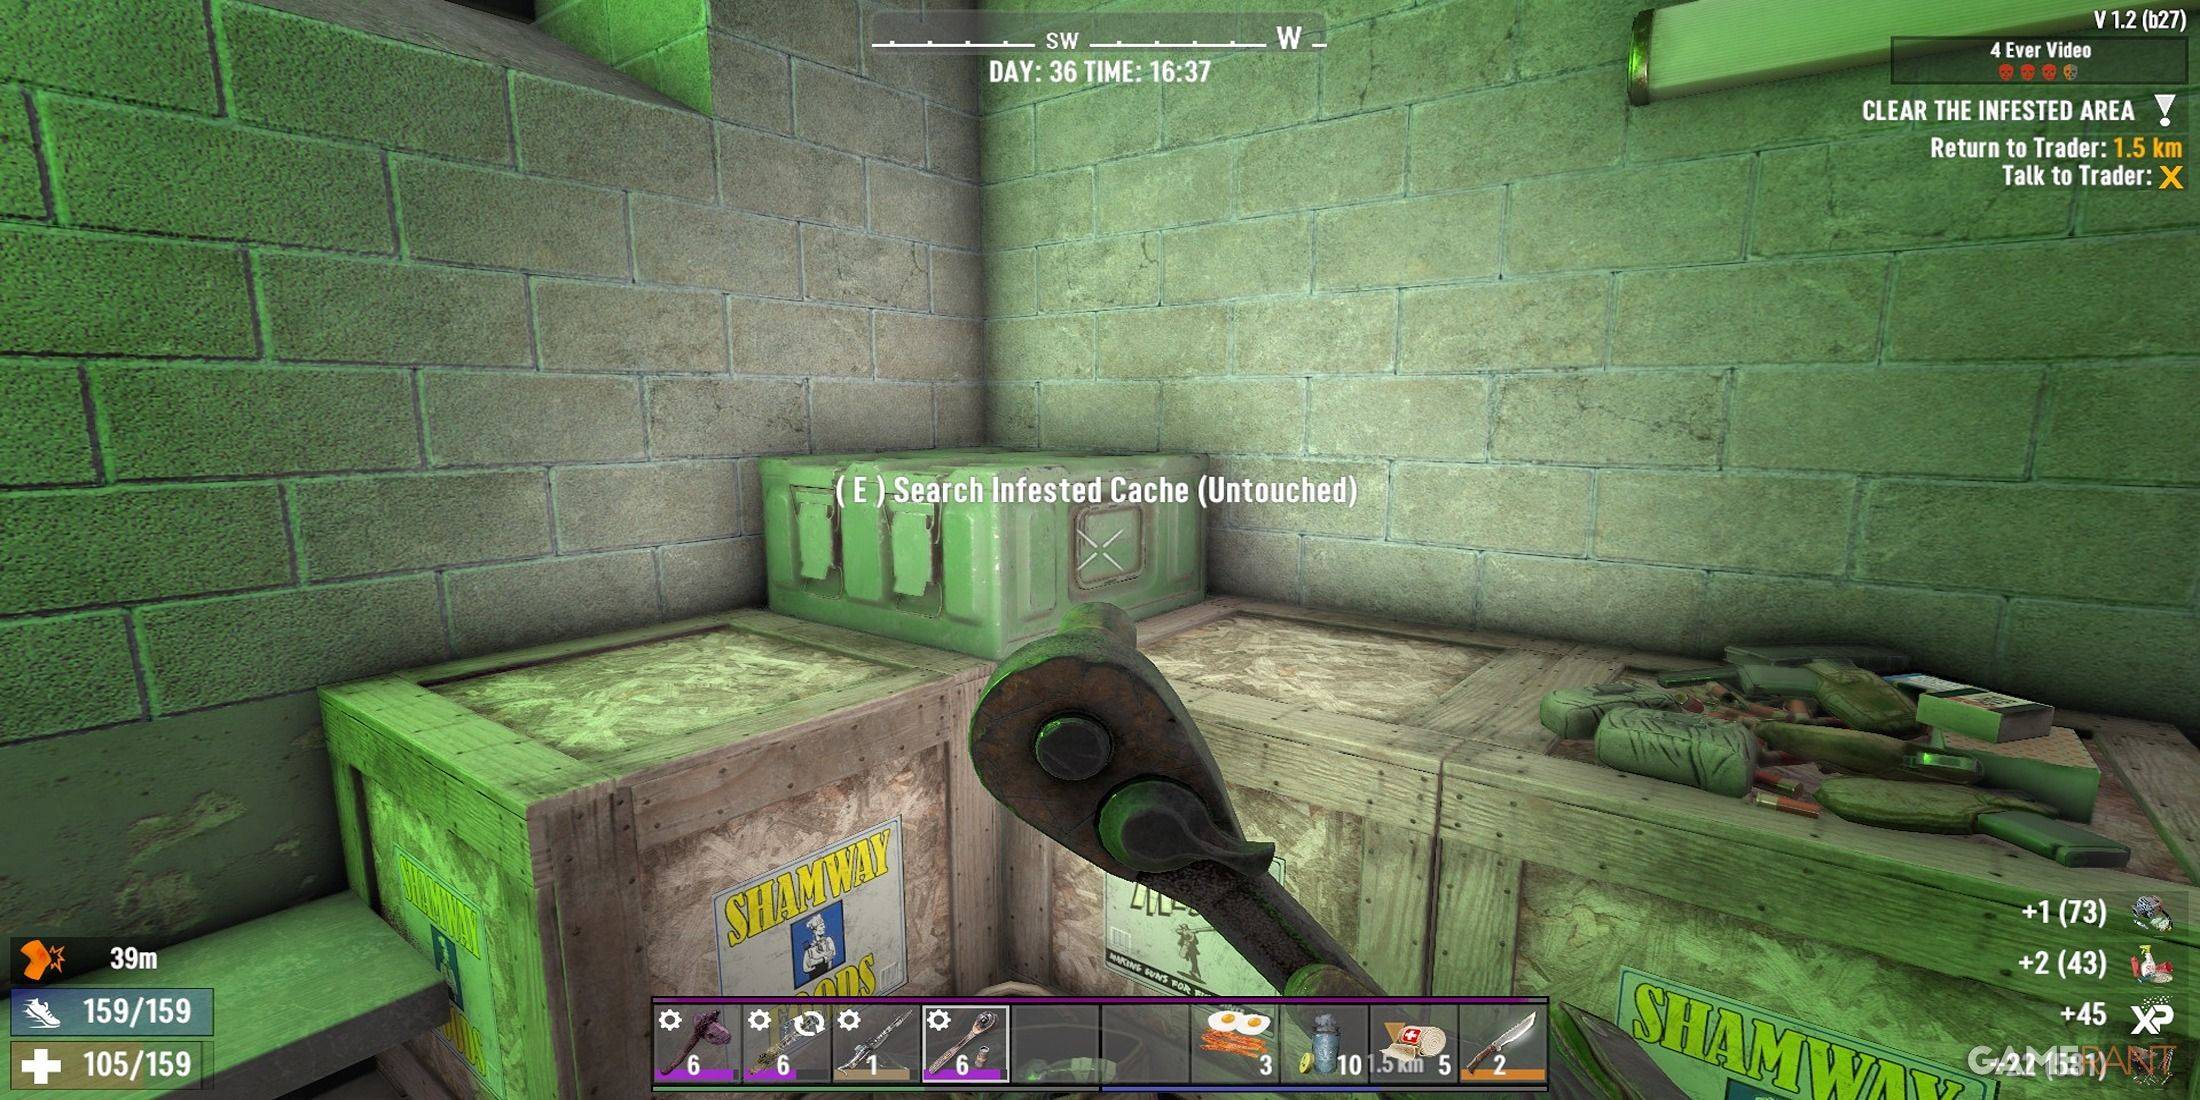
After clearing all zombies, your mission objective will update, requiring you to return to the trader for your reward. Don't forget to loot the infested cache, which contains valuable items like ammo and magazines, setting these missions apart from regular clear missions.
Infested Clear Mission Rewards
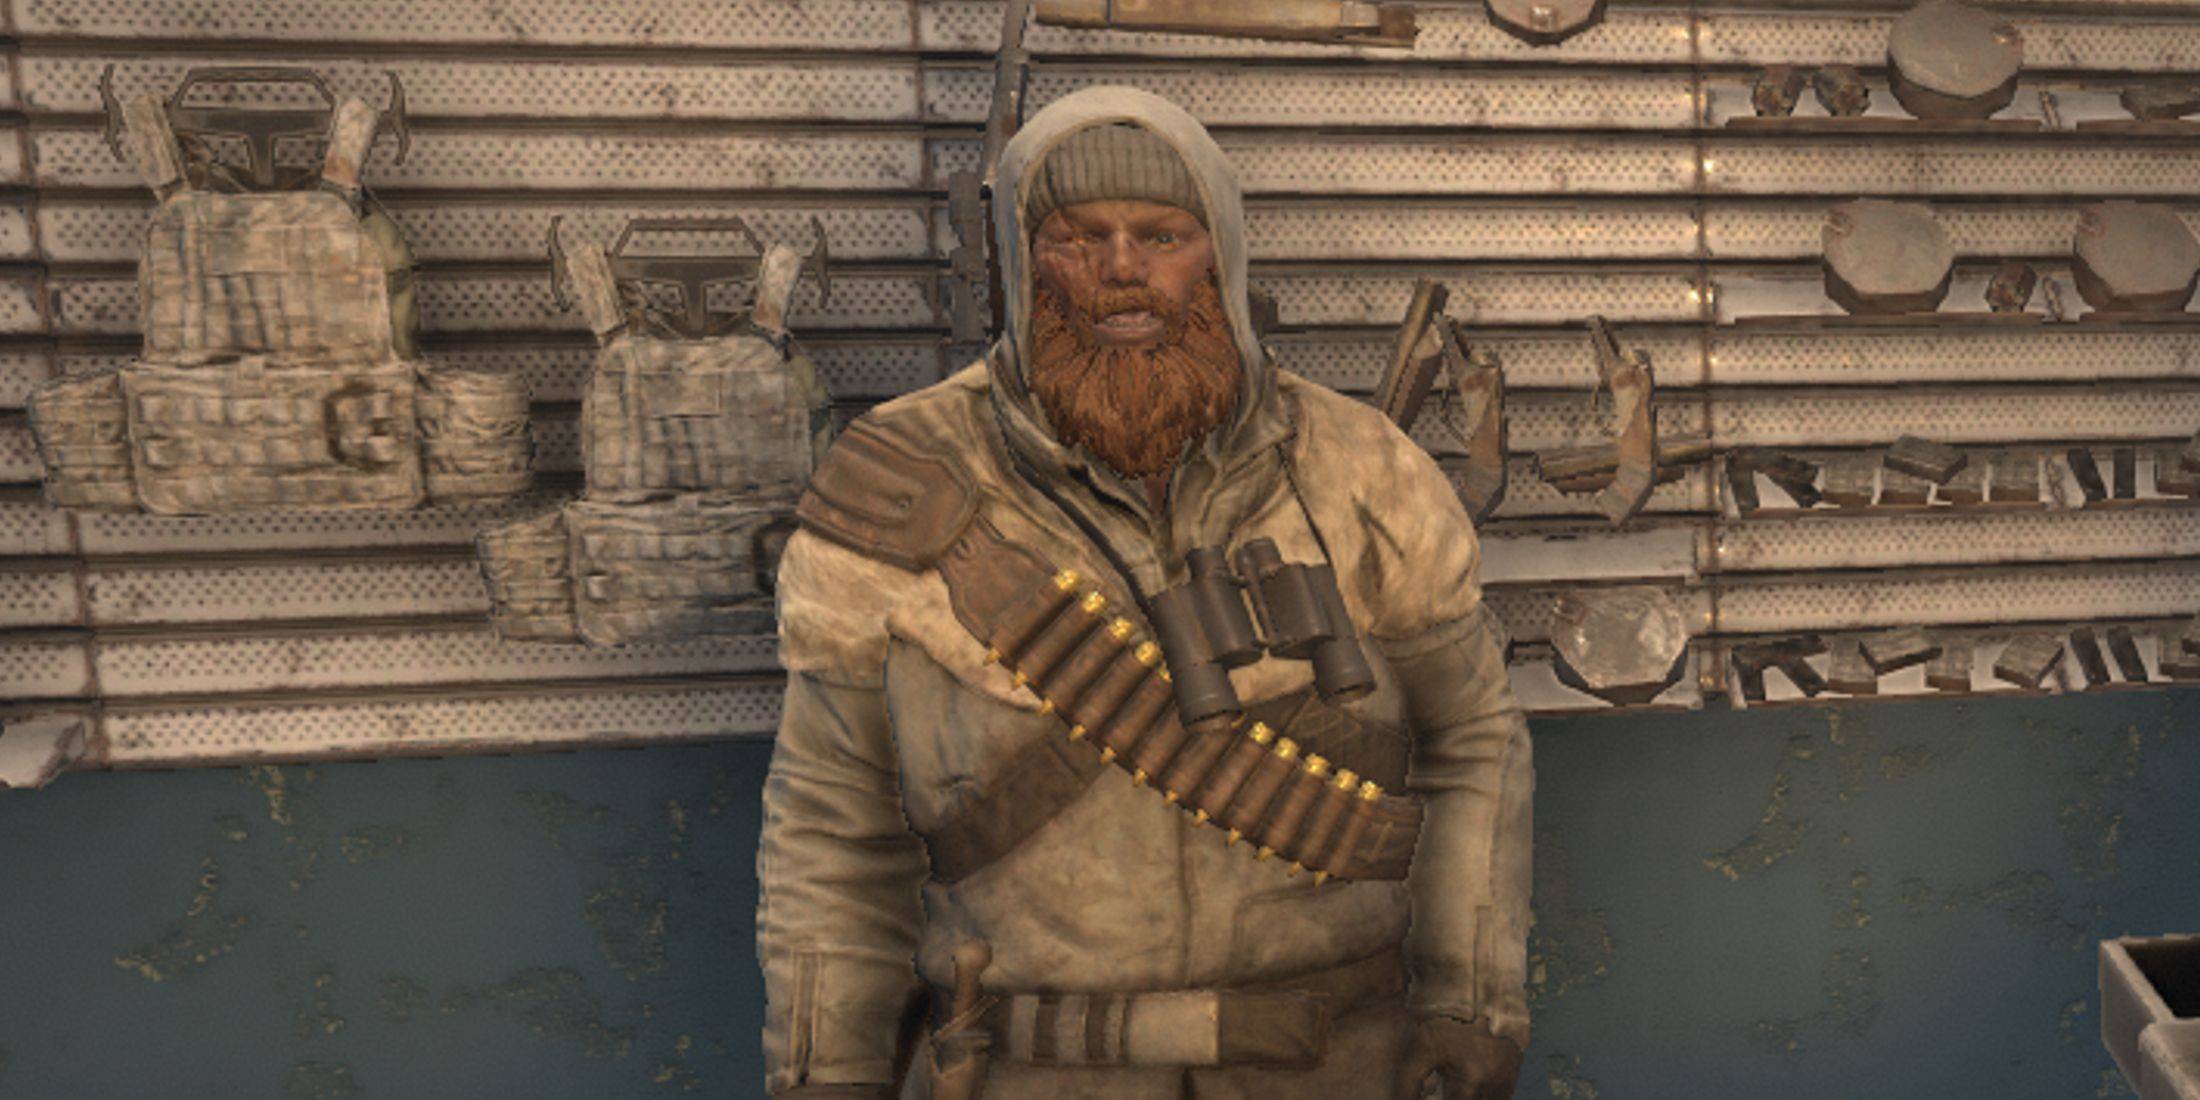 Upon returning to the trader, you'll select a random reward, with the quality and rarity influenced by several factors:
- Game Stage
- Loot Stage
- Tier Selection
- Skillpoint Selection
Your game stage increases naturally as you play, while your loot stage can be boosted with skills like Lucky Looter and the treasure hunter's mod. Higher mission tiers offer better rewards.
To maximize your rewards, invest in the A Daring Adventurer perk, which increases the Dukes earned from missions and, at rank 4, allows you to choose two rewards instead of one. This perk is essential for mission enthusiasts, offering not only more Dukes but also the chance to secure rare items like solar cells, crucibles, or legendary parts.
After claiming your rewards, consider selling any unwanted items to the trader. Each Duke earned from sales grants 1XP, and selling in bulk can quickly accumulate thousands of XP.


-
1
Announcing the Bazaar Release: Date and Time Unveiled
Feb 02,2025
-
2
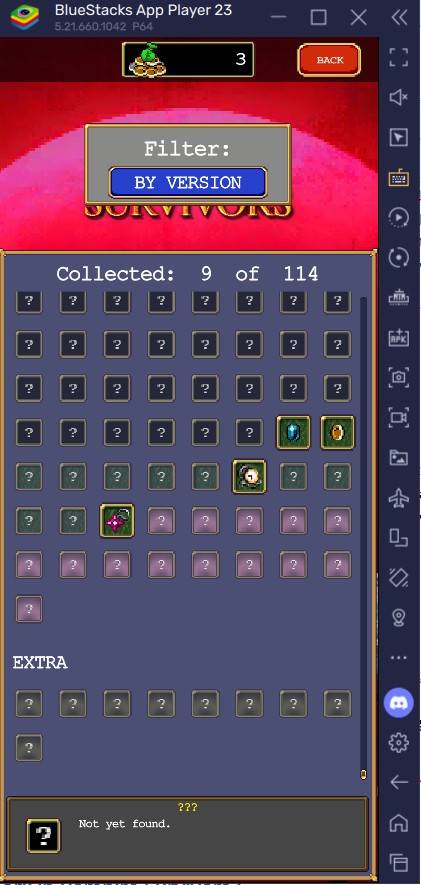
Vampire Survivors – Arcana Card System Guide and Tips
Feb 26,2025
-
3
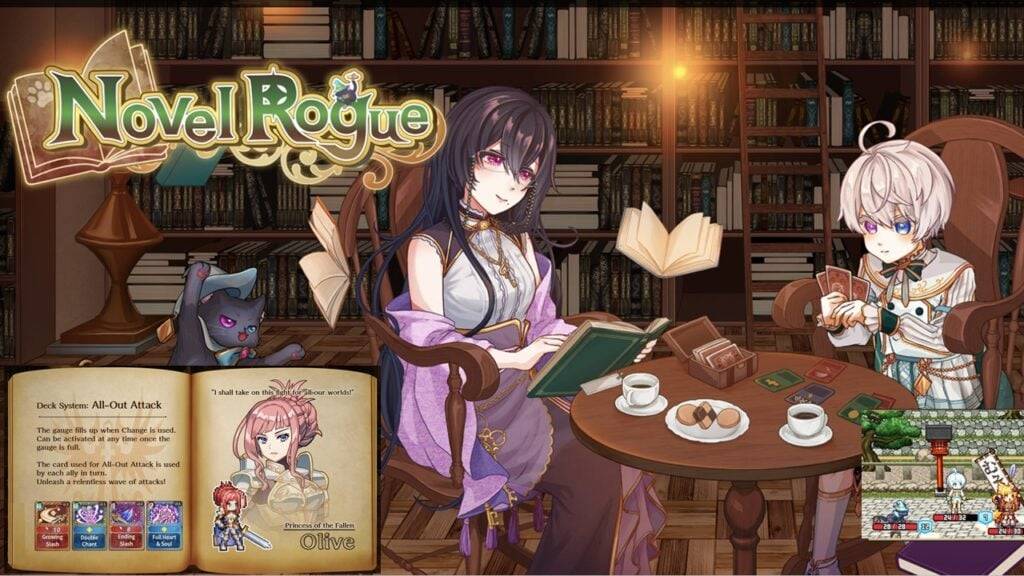
Novel Rogue Decks Android Debut
Feb 25,2025
-
4
Marvel Rivals Update: News and Features
Feb 19,2025
-
5

GTA 6 Release: Fall 2025 Confirmed
Feb 23,2025
-
6
Get Exclusive Roblox DOORS Codes for January 2025
Feb 10,2025
-
7

Marvel Rivals Unveils Season 1 Release Date
Feb 02,2025
-
8

Anime Fate Echoes: Get the Latest Roblox Codes for January 2025
Jan 20,2025
-
9
Roblox: Exclusive Prison Codes Revealed (Updated January 2025)
Feb 19,2025
-
10

DC Heroes Unite: New Series from Silent Hill: Ascension Creators
Dec 18,2024
-
Download

Street Rooster Fight Kung Fu
Action / 65.4 MB
Update: Feb 14,2025
-
Download

Ben 10 A day with Gwen
Casual / 47.41M
Update: Dec 24,2024
-
Download

A Simple Life with My Unobtrusive Sister
Casual / 392.30M
Update: Dec 10,2024
-
4
Day by Day
-
5
Translate - Voice Translator
-
6
Mega Jackpot
-
7
Midi Commander
-
8
Idle Rush : Zombie Tsunami
-
9
The Lewd Knight
-
10
VPN Qatar - Get Qatar IP